Many GTK+ users and developers have already heard of the GTK+ Inspector, a tool to inspect, modify and understand GTK+ applications. The Inspector is extremely powerful, and allows theme designers to test CSS changes on-the-fly and magnify widgets to see even the smallest details, lets developers check the application widgets and their properties, and lets users to play (and eventually break) applications.
In this article, we’ll explore the GTK+ Inspector and show what can you do with it.
Prelude
Since the Inspector is a debugging tool, it is disabled by default. To start using the Inspector, you first have to enable it. You can easily do that with DConf Editor:
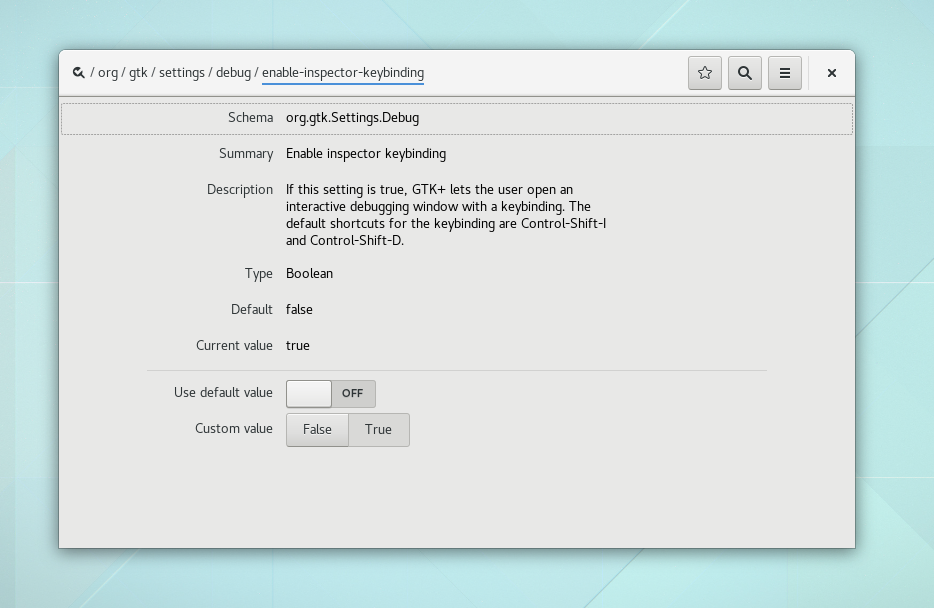
Alternatively, you can use the terminal to enable it. To do that, run the following command:
$ gsettings set org.gtk.Settings.Debug enable-inspector-keybinding true
Done! The Inspector is now enabled!
Opening the Inspector
Now that the Inspector is enabled, you want to run it. The Inspector is always associated with an application. Let’s use GNOME Calendar for example:
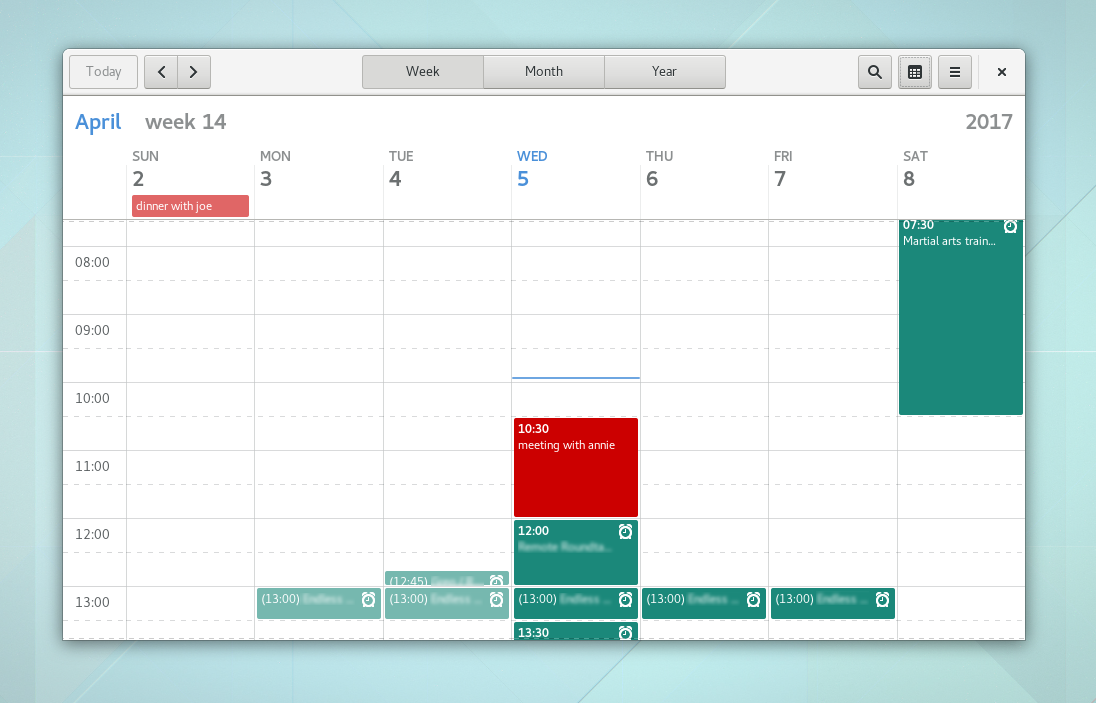
There are multiple ways to bring up the Inspector. You can open it while using the application, by typing <Ctrl> + <Shift> + D (or <Ctrl> + <Shift> + I to automatically select the widget under the mouse pointer). Alternatively, you can launch the application from the terminal with the environment variable GTK_DEBUG=interactive.
The Inspector will open, and you’ll see the following window:
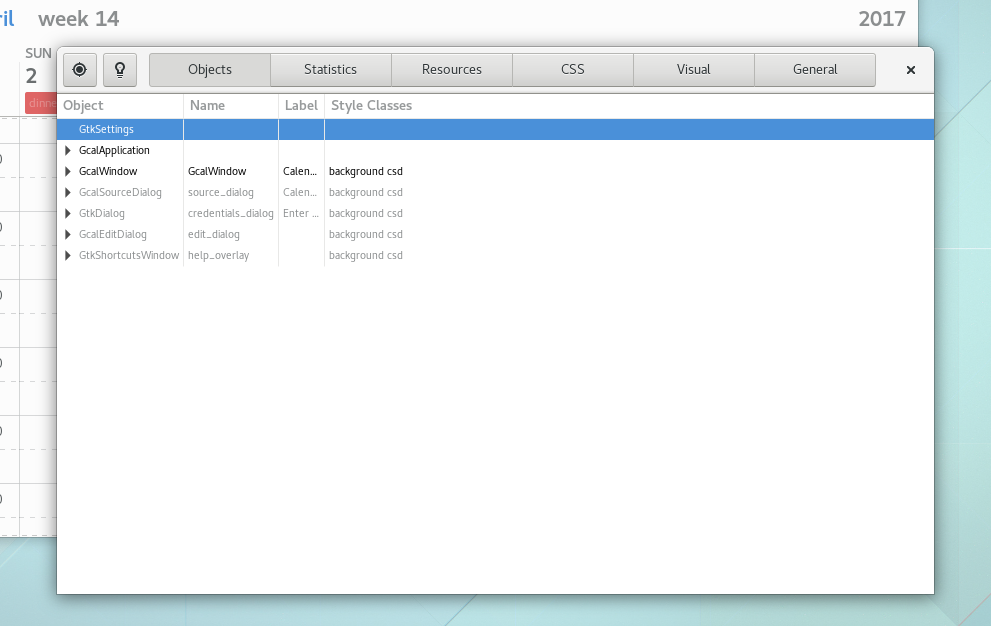
And that’s all you have to do. Now let’s explore the various functions that the Inspector has to offer.
Exploring the Inspector
At first, the overwhelming number of buttons and tabs can confuse those who are not well-versed in the art of inspecting applications. A quick explanation of the tabs, in order:
- Objects: exposes the widgets of the application, and allows editing properties and seeing detailed information about each widget. Explained below.
- Statistics: shows miscellaneous statistics of the application. You need to run the application with GOBJECT_DEBUG=instance-count.
- Resources: shows the various resources that are embedded in the application binary, such as custom icons or GtkBuilder files, among others.
- CSS: allows testing CSS live. Explained below.
- Visual: controls some visual aspects of the application, such as the text direction, dark/light variant, the theme, the scaling factor, etc.
- General: shows miscellaneous information about the GTK+ application (and the session it is running in).
Let’s dissect the main window of the GTK+ Inspector:

Those 4 annotated sections of the Inspector are the most commonly used ones. Theme designers will want to check (3) and (4), while developers usually use (1) and (2).
Inspecting widgets
For developers, the Inspector shows its usefulness by letting you change the properties of any widget on the screen. Let’s start by clicking the first button and selecting a widget using the mouse cursor:
You can now easily change the properties of that widget by browsing the Objects > Properties tab. You can change, for example, the visibility of a widget, the text of a label, and much more!
Now that you know how to inspect a GTK+ application, play around and explore how many applications are organized. Change the widgets’ properties and see what happens. Most of the times, this is safe and won’t break your GNOME session, or freeze your computer!
Editing CSS
The Inspector is a powerful tool for designers too. One of the greatest features it has is the live CSS editor. Let’s start by going to the CSS tab:
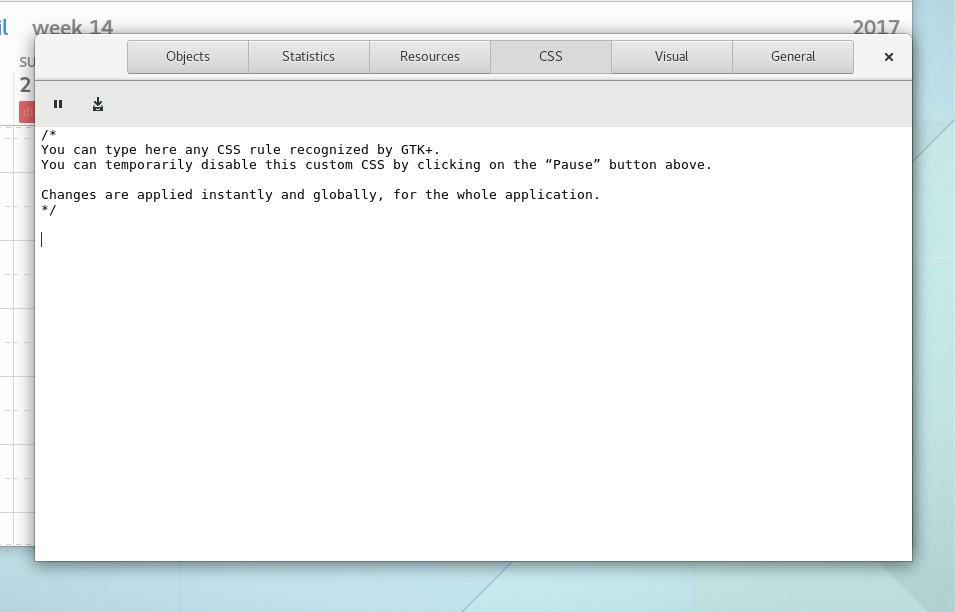
Let’s play with CSS! Paste the following CSS code and see what happens:
window stack {
    background-color: orange;
}
Whoa! The window became alien! That CSS code changes the background color of any GtkStack widget inside a GtkWindow. If you want to learn more about CSS selectors and how GTK+ is using CSS for theming, there are some useful links at the end of this article.
The cautious reader may ask: what is the hierarchy of CSS elements? How can I see which CSS elements are available?
Fear not! GTK+ Inspector allows you to easily check the CSS hierarchy at the Objects > CSS Nodes tab.
GTK+ widgets have documented CSS names. You can browse the GTK+ documentation to see how widgets are organized, and how you can use CSS to control the various aspects of the widgets.
Not sure if your CSS changes are perfect? Let’s magnify the widget to make sure we don’t miss any detail:
Looking good? Join #gnome-design and share your awsome CSS snipplets with the community!
Wrapping up
While this article explores some of the biggest aspects of the GTK+ Inspector, this is by far not an exhaustive list of all the features of the Inspector. After reading this article, however, you’ll hopefully be able to open the Inspector and explore more of its awesome power on your own.
Doubts? Comments? Suggestions? Stop by and leave a comment, join #gtk+ channel at the GNOME IRC network and let us know what you think!


